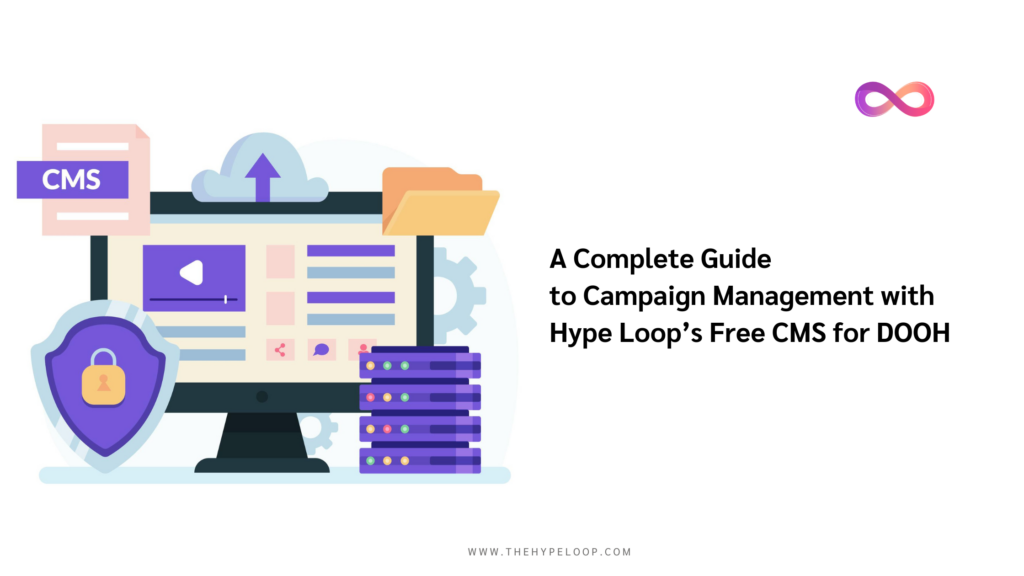
Introduction
Managing and scheduling digital advertising campaigns has never been easier with Hype Loop’s Free Content Management System (CMS). Whether you’re a business owner, an advertising agency, or a DOOH (Digital Out-of-Home) publisher, this step-by-step guide will help you optimize your advertising strategy using Hype Loop’s free CMS.
With features like real-time campaign control, audience targeting, and seamless screen integration, Hype Loop simplifies digital ad management, allowing businesses to reach their audience effectively.
In this guide, we’ll walk you through everything—from setting up your CMS account to publishing and managing your campaigns like a pro.
Why Use Hype Loop’s Free CMS for DOOH Advertising?
Hype Loop’s CMS offers a user-friendly platform for publishers and advertisers to create, manage, and track their digital ad campaigns across multiple screens. Here’s why it stands out:
- Completely Free – No setup cost or hidden fees.
- Easy Integration – Works seamlessly with Android TVs.
- Remote Campaign Management – Control ad placements from anywhere.
- Detailed Performance Reports – Track impressions and audience engagement.
- Scalable Solution – Suitable for small businesses and large enterprises alike.
If you’re looking for a cost-effective DOOH advertising solution, Hype Loop is the perfect platform.
Step 1: Setting Up Your CMS Account
1.1 System Requirements
Before you start, ensure you have the following:
✔ Android TV (Version 11 or above)
✔ Stable internet connection (Wi-Fi or Ethernet)
✔ Hype Loop Publisher App & TV App (from Play Store)
✔ File Manager & VLC Media Player Apps (from Play Store)
1.2 Registration & Login
Follow these steps to register as a publisher and access the CMS:
✅ Visit the Hype Loop website and navigate to the CMS tab.
✅ Click “Get Started” and fill in the required details:
- First & Last Name
- Email ID & Password
- Business Name
- TV Screen Location
- GST Number (optional)
✅ Click “Register” and verify your email.
✅ Login to your account using your credentials.
Step 2: Adding Screens to Your CMS
Once logged in, you need to add your screens to start displaying content.
2.1 Adding a New Screen
1️⃣ Go to the Admin Panel > Click on “Screens”.
2️⃣ Click “New Screen” and enter the screen details:
- Screen Name (e.g., Café TV Screen, Mall Display)
- Screen Size (43 inches, 55 inches, etc.)
- Resolution & Type (HD, 4K, Ceiling-mounted, Wall-mounted)
- Audience Type (Shoppers, Professionals, Students)
- Operational Hours (Start & End Time)
- Location (Enter address using the map)
3️⃣ Click “Create” and submit for approval.
⏳ Approval Process: The Hype Loop team will review and approve your screen before you can display ads.
Step 3: Syncing the Publisher App with TV App
For your screen to start displaying ads, you must sync the Hype Loop Publisher App with the Hype Loop TV App.
3.1 Installing the Required Apps
📌 Download the Hype Loop Publisher App on your mobile device.
📌 Download the Hype Loop TV App on your Android TV.
3.2 Syncing the Apps
- Install the Hype Loop Publisher Mobile App and Hype Loop TV App on your respective devices.
- Log in using the same credentials for mobile application.
- Open the Hype Loop TV App on the Android TV.
- A QR code will appear on the screen.
- Open the Hype Loop Publisher Mobile App and scan the QR code displayed on the TV.
- Once successfully scanned, the screen will be synced with the CMS.
3.3 Automatic Campaign Assignment
- After synchronization, approved campaigns are automatically assigned to connected screens.
- Campaigns are updated daily.
Step 4: Creating & Publishing Ad Campaigns
Now that your screen is set up, you can create and manage ad campaigns effortlessly.
4.1 Creating a New Campaign
1️⃣ Go to the Admin Panel > Click on “Campaigns”.
2️⃣ Click “New Campaign” and enter the details:
- Campaign Name (e.g., Weekend Offers, New Product Launch)
- Start & End Date
- Media Type (Poster or Video Ad)
3️⃣ Click “Create”.
4.2 Assigning Screens to the Campaign
✔ Select screen type and location for your ad placement.
✔ Choose the screens where you want the content to appear.
✔ Click “Submit” to finalize your selection.
4.3 Uploading Creative Content
🎨 Upload poster ads (JPG/PNG format) or video ads (MP4 format).
📅 Click “Publish” to schedule the campaign based on the start date.
Your ad campaign is now live!
Step 5: Managing & Monitoring Campaign Performance
Hype Loop’s CMS allows you to control, edit, and track your campaigns in real time.
5.1 Editing & Pausing a Campaign
✅ Navigate to “Campaign Overview”.
✅ Click “Pause” to temporarily stop a campaign.
✅ Click “Edit” to modify ad content, schedule, or duration.
✅ Click “Publish” after making changes.
5.2 Performance Tracking & Reports
📊 Access detailed impressions, engagement data, and screen performance.
📈 Identify high-performing locations to optimize your advertising strategy.
Step 6: Troubleshooting & Support
Facing issues? Here’s how to fix common problems:
🔹 App Not Syncing – Ensure the TV is connected to the internet.
🔹 Campaign Not Displaying – Verify screen approval and check connectivity.
🔹 Login Issues – Reset your password via “Forgot Password”.
Need further assistance? Contact Hype Loop Support:
📧 Email: support@thehypeloop.com
📞 Phone: +91 6381286119
Final Thoughts: Why Hype Loop’s Free CMS is a Game-Changer
With Hype Loop’s Free CMS, businesses and publishers can effortlessly manage DOOH ad campaigns without any technical expertise. From easy content uploads to real-time monitoring, Hype Loop provides a powerful, scalable, and cost-effective solution for digital advertising success.
Start Using Hype Loop’s Free CMS Today!
🔹 Sign Up Now and take control of your digital ad campaigns.
🔹 Manage ads remotely, track performance, and boost brand visibility.
📢 Ready to elevate your digital advertising strategy? Get started with Hype Loop’s Free CMS today!